Harbor Freight Stud Finder
When it comes to stud finders, one brand that often comes to mind is Harbor Freight. Known for its wide range of affordable tools and equipment, Harbor Freight offers a stud finder that combines functionality and value. Let’s take a closer look at some of the features, pros, and cons of the Harbor Freight stud finder.
Features of Harbor Freight Stud Finder
- Easy to Use: The Harbor Freight stud finder is designed to be user-friendly, making it accessible to both professionals and DIYers. With just a few simple steps, you can start locating studs with ease.
- Multiple Scanning Modes: This stud finder offers different scanning modes, allowing you to choose between scanning for wood or metal studs. This versatility makes it suitable for a variety of projects.
- LCD Display: The stud finder features an LCD display that provides clear and accurate readings. This makes it easy to interpret the results and ensures precise stud detection.
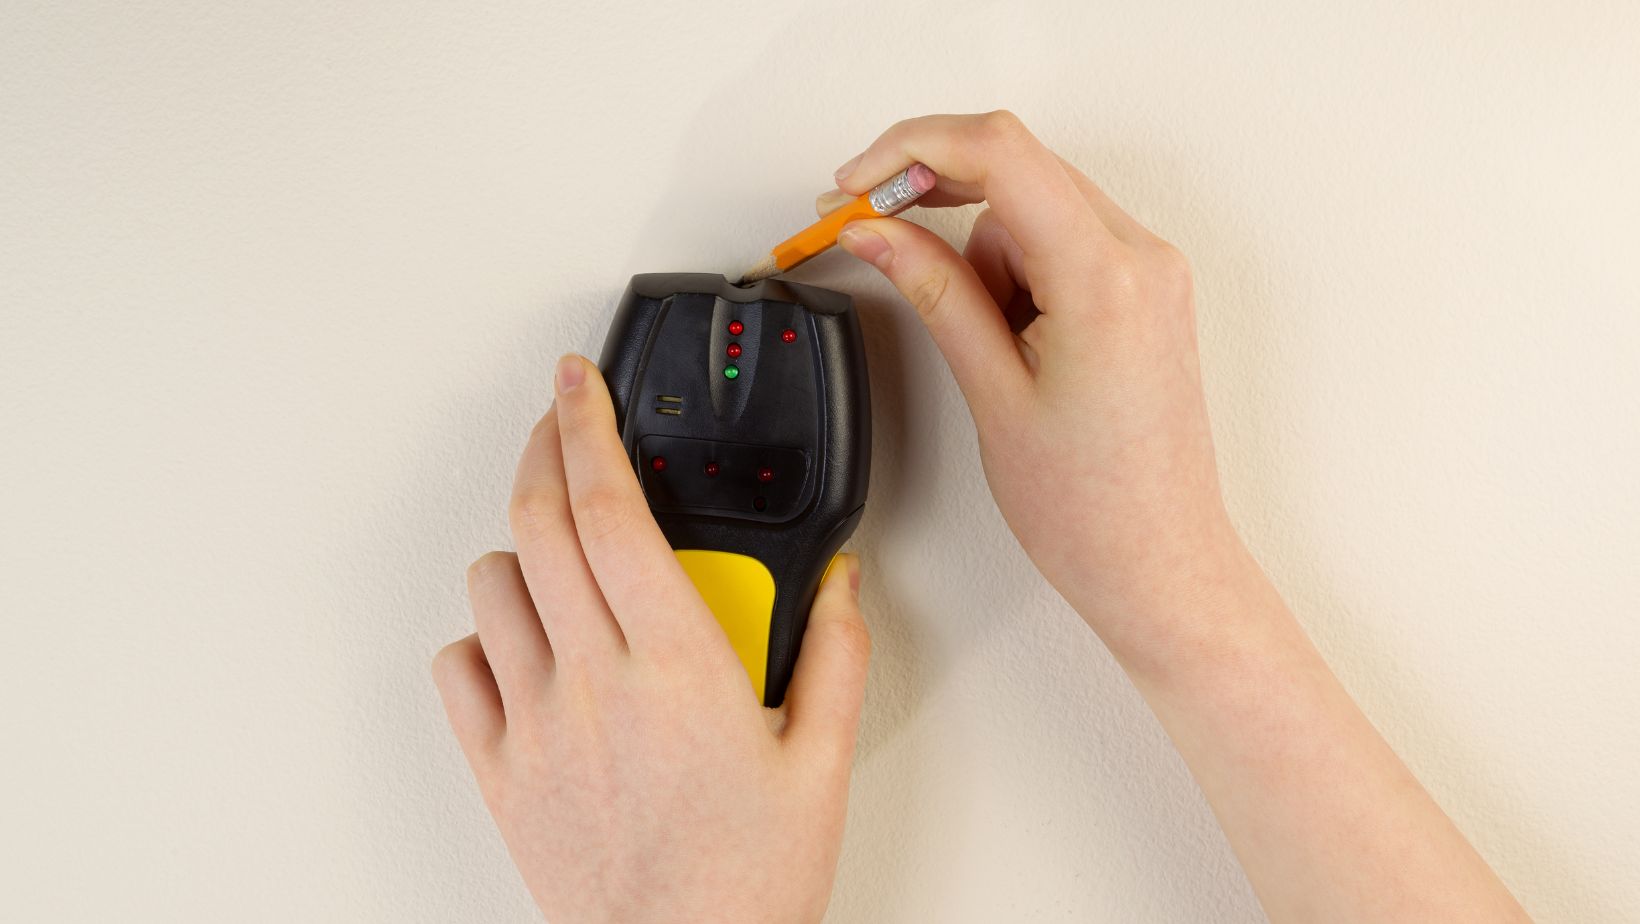
- Built-in Marking Function: Another handy feature of the Harbor Freight stud finder is its built-in marking function. Once a stud is detected, you can mark the location on the wall for easy reference during your project.
Pros of Harbor Freight Stud Finder
- Affordable Price: One of the main advantages of the Harbor Freight stud finder is its affordable price. It offers great value for your money, making it a budget-friendly choice for those on a tight budget.
- Reliable Performance: Despite its low price, the Harbor Freight stud finder delivers reliable performance. It accurately detects studs, helping you avoid unnecessary holes in your walls.
- Compact and Portable: The stud finder’s compact design makes it easy to handle and carry around. Whether you’re working in tight spaces or moving between different areas of your project, the Harbor Freight stud finder won’t weigh you down.
- Durability: Harbor Freight tools are known for their durability, and the stud finder is no exception. It is built to withstand the demands of various construction and home improvement projects.
Overall, the Harbor Freight stud finder offers a cost-effective solution for locating studs in walls and ceilings. With its user-friendly interface, reliable accuracy, and compact design, it is a valuable addition to any toolkit. However, keep in mind its limitations regarding depth range and advanced features.
How to Use a Harbor Freight Stud Finder
Step 1: Prepare the Stud Finder
Before using the Harbor Freight stud finder, it’s important to make sure you have everything you need and that the device is ready to use. Here’s what you should do:
- Gather the tools: Get your Harbor Freight stud finder, a pencil or marker for marking the studs, and a tape measure if needed.
- Power on the stud finder: Press the power button to turn on the stud finder. Make sure the batteries are properly installed and have enough charge.
- Read the user manual: Familiarize yourself with the instructions and features of the Harbor Freight stud finder by reading the user manual. This will help you understand how to operate the device effectively.
Step 2: Choose the Scanning Mode
The Harbor Freight stud finder offers multiple scanning modes to suit different materials. Here’s how to select the right mode for your project:
- Wood mode: If you are looking for wooden studs, select the “Wood” mode. It is ideal for finding studs in drywall, plaster, or paneling.
- Metal mode: If you suspect there are metal studs in the wall, choose the “Metal” mode. This setting is suitable for locating studs made of steel or other metal materials.
- Cable mode: In some cases, you may need to locate electrical wires or cables behind the wall. The Harbor Freight stud finder also has a “Cable” mode specifically designed for this purpose.
Step 3: Calibrate the Stud Finder
Calibrating the stud finder ensures accurate readings and reliable performance. Follow these steps to calibrate your Harbor Freight stud finder:
- Hold the stud finder against a wall: Place the stud finder against a flat surface on the wall that you know does not contain any studs or other objects.
- Press and hold the calibration button: While keeping the stud finder against the wall, press and hold the calibration button. This will initialize the calibration process.
- Wait for the calibration to complete: Keep the stud finder steady until the calibration is finished. The device will indicate when it’s ready to use.
Remember to keep the stud finder clean and properly maintained for optimal performance. With these steps, you’ll be able to effectively use your Harbor Freight stud finder to locate and mark studs for your construction and home improvement projects.